How To Remove Burnt-on Grease from a Ceramic or Glass Stove Top Quickly with Household Items
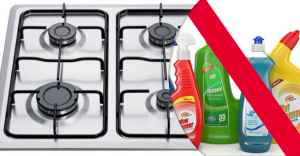
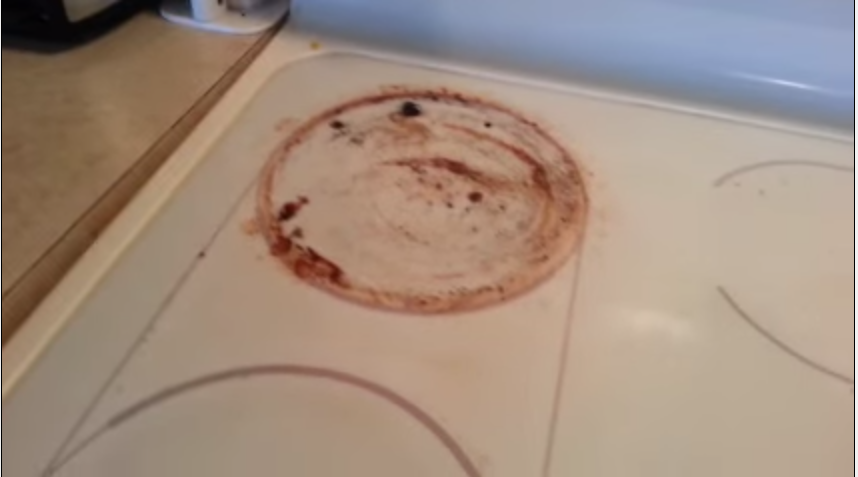
The leftover burnt on residue on the ceramic stove top represents a tough elbow-grease cleaning job. Like most families, our family loves to cook so you can only imagine the state our ceramic stove top is in.
We have tried almost every sort of soaking, chemicals, and natural scrubbing material suggested. Steel wool scrubbers, strong cleaners, razors for scraping and chemicals.
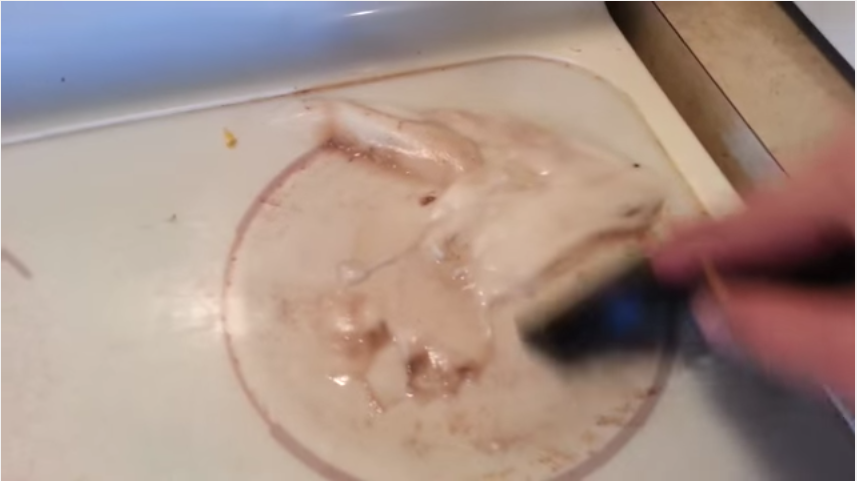
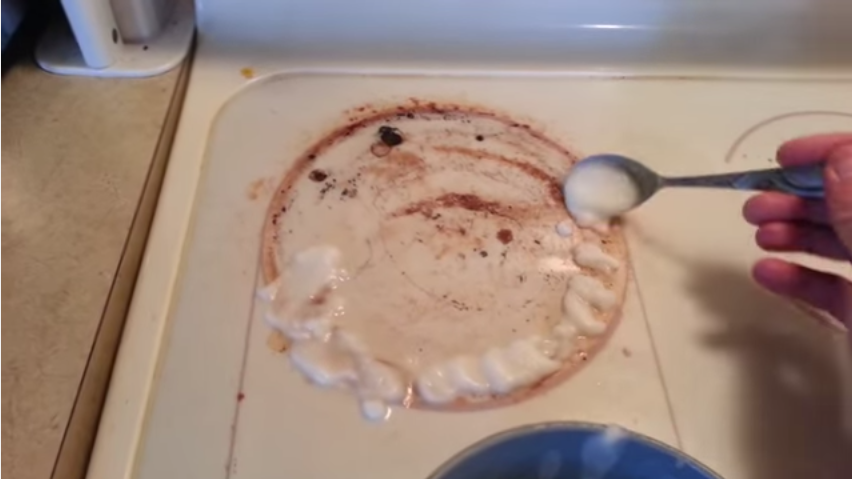
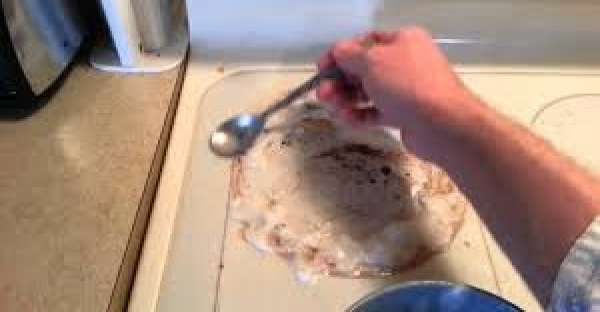
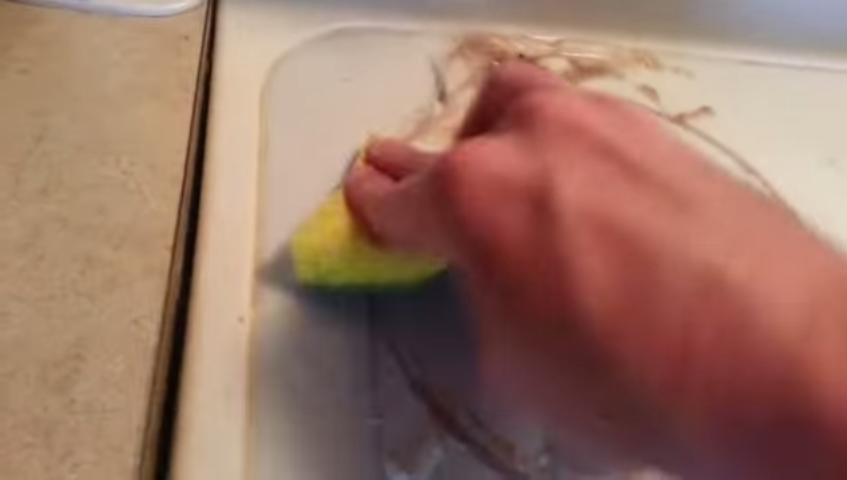
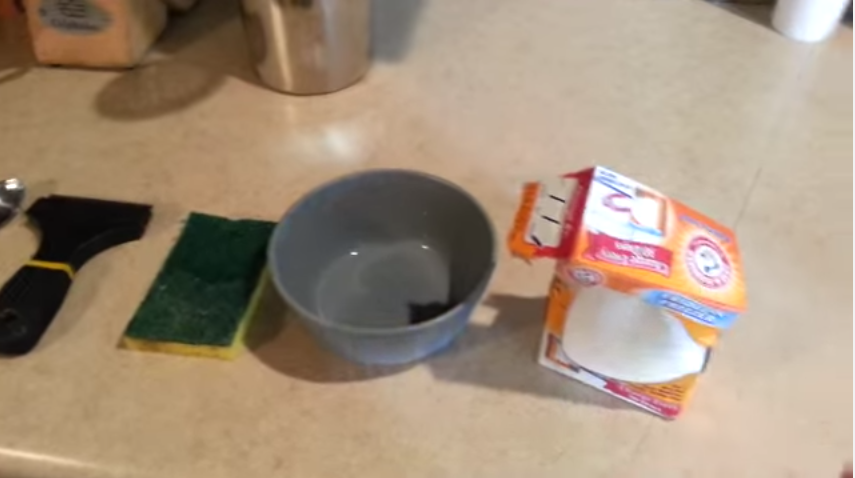
We discovered a You Tube with tips. The most important tips: You will want to avoid scratching the ceramic (which leads to pitting - which leads to cracking and expensive repairs of the stove top itself). You will want the stove top to be as reflective as possible - like a mirror. You will want to find a natural way to clean, without the harsh chemical residue left on a surface where we prepare food. Some of the natural ways used a baking soda paste to soak up the grease and slowly grind away the grimy baked-on leftover residue. Water/Liquid is key.
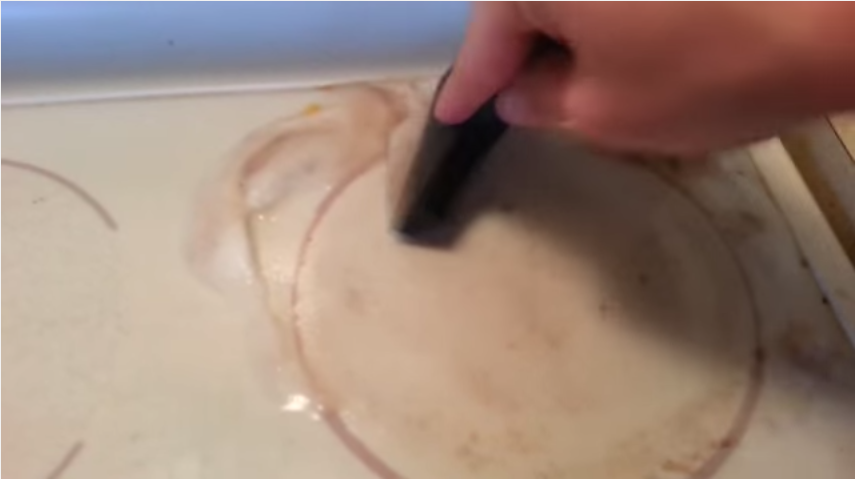
More things learned were that if the glass is not wet (or you push too hard) - you may scratch the ceramic/glass top! It suggested that you might also try a "Mr. Clean" Magic eraser to help polish the top and remove residue. As the video pointed out, try to let the baking soda paste/solution sit for as long as you can as we left it for 15 mins and still had to scrub (an hour works best if you have the time). Important to note that when you use razor blade scrapers, make sure you lay them flat or on a 45 degree angle, so they don't scrape the ceramic stove top.
This video showed us that cleaning can be easy and effective and not have to include harsh chemical cleaners. Best of all we used the "leftover" baking soda we kept in the fridge to assist with fighting "odors" and we would have normally thrown it away.
Please watch the You Tube video below for yourself. You will be glad you did!
Learn MORE / Get RECIPE at YouTube
To help with slow website load, we have put all photos for this article here: View photo gallery.
.jpg)