How To Transfer An Image To A Rock
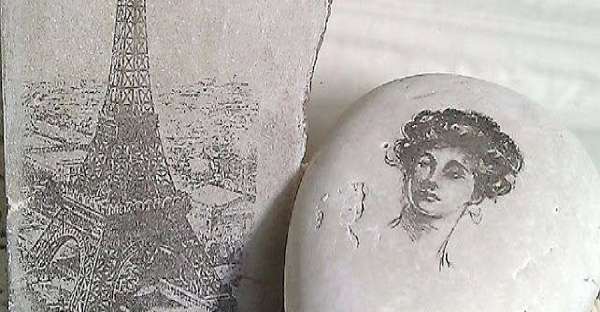
One sunny day and you decided to go to the beach, get some fresh air, relax and listen to the waves that smashes to the coast. As you are enjoying the beautiful scenery of the beach, you happen to find a perfect clean rock that would be fitting for your room. Rocks can be nice decorations and is cheap, but what if we can transfer an image to that rock to add beauty to it? Cool idea right?
In this tutorial, you will learn how to transfer an image to a rock. To start with, we will be needing a few materials:
*Some rocks (Preferably the larger ones. You can also buy these at any supply store);
*An image you like;
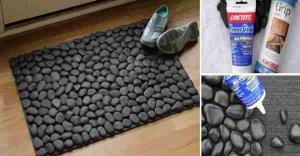
*White Paint;
*A "Splendid Blender" Pen;
*A laser printer;
Procedure:
1. Let's start by cleaning the surface of the rock, that's where we will place the image.
2. Paint the rock white, let it dry under the sunlight.
3. With the laser toner, create a copy of the image you like to transfer and place it to the rock faced down (ink jets don't work).
4. Let's start rubbing the pen all over the image with one hand holding the paper so that the image will not slide or you'll get a blurry image to your rock. Press the image hard until it transfer to get a clear image.
5. Be sure to have a lot of ventilation when using the pen. And that would be all.
There are other ways to transfer an image to a rock. You can use any other methods but this for me is really easy and worked out fine. You can also make personalizations to your rock and it can also be great for presents. Really easy and yet so pretty, you'd just have to use your imagination. Enjoy!
Learn MORE at Villa Barnes
To help with slow website load, we have put all photos for this article here: View photo gallery.