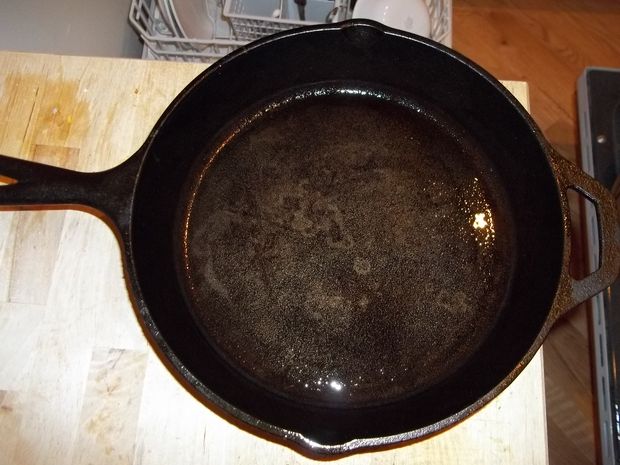
The Little Trick that Will Rescue Your Cast Iron & Have You Running to the Kitchen to Try It!

Cast iron is an amazing cooking surface. Heavy and thick, it acts as an amazing heat reservoir and is excellent for searing steaks and other fine meats at your disposal.
Many a time, an unskilled, forgetful, or uninformed aspiring chef will let the pan soak, leave it in a moist place, or even accidentally run it through the dishwasher. Lo! Ruin and shame! Avert thine eyes!
But no longer!
Bring out the maimed and sad pans from deep within your cabinets! Cast (iron) away your shame!
We can fix this. It'll take some elbow grease, and time. But you'll be back on the cast iron horse in no time.
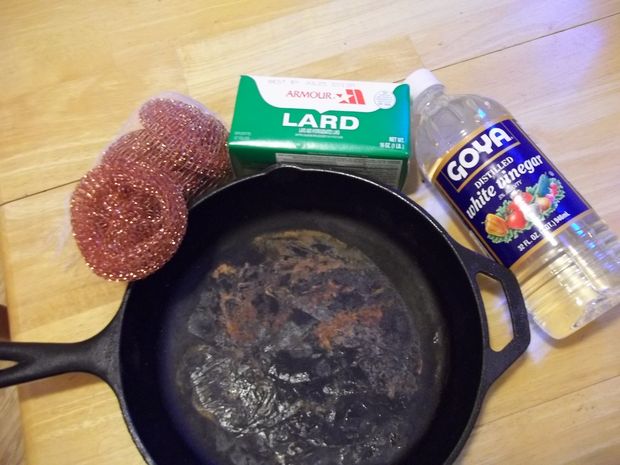
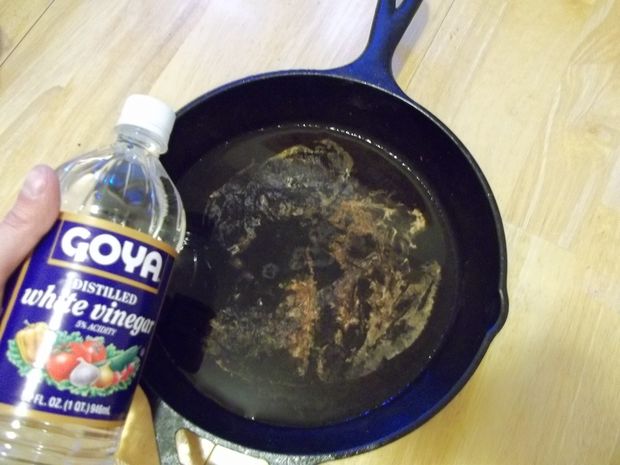
(This particular pan met its rusty fate when a wet mixing bowl was left on top of it and ignored for a week or so. View my shame, and learn from my mistake!)
Step 1: What You'll Need
You'll need a solution to loosen the dirt/debris, something to buff away the portions where rust has eaten away at the metal, and something to restore the cast iron seasoning.
Vinegar
Lard or Shortening
Scouring pad
Cast iron pan in need of restoration
Elbow grease (Now with 100% more elbow!)
Step 2: Soak
If you have a self cleaning oven, and a pan with some serious gunk or buildup, run your pan through the self clean cycle. Any debris will be annihilated, and you can continue on with the following steps to restore your pan to its former glory.
Depending on the extent of rust damage to your pan, you'll want to soak just the inside, or the whole pan in a vinegar solution. Anything from an hour to about six hours or so will work wonders to release any caked on muck and loosen the surface rust/damage. Leaving your pan in an acid soak for longer may start to eat away at your pan, so be careful. I used 50/50 vinegar to water, but I've seen solutions that go with a lower vinegar solution and a longer soak- I don't mind the smell, personally, so I went with the 50/50 solution.
Step 3: Scrub
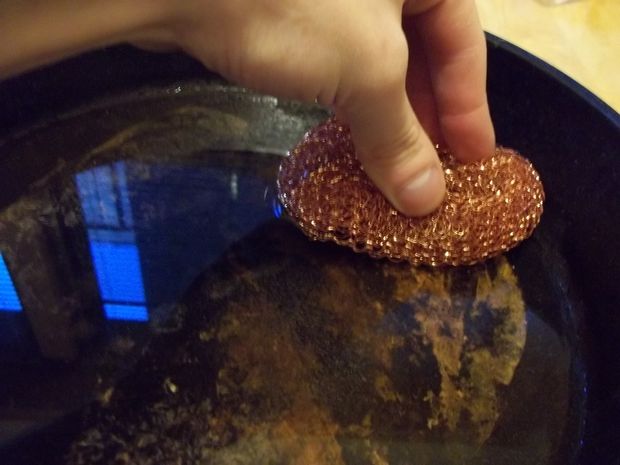
Let your pan dry before getting to this bit, or you can try scrubbing in the solution as well to pick up any debris. The main idea to this step is to get rid of ALL the rust that has eaten away at your pan. Scrub like mad, until you can't make out the region of damage on your pan. I used a copper scrubber, but depending on the severity of damage, you can use anything from rock salt for spot touches to a drill mounted metal scour for those heavy duty jobs. Try to be as thorough as possible- you've already lost the seasoning in those patches, so scrub to your heart's content.
Step 4: Grease
Time to fatten your baby up.
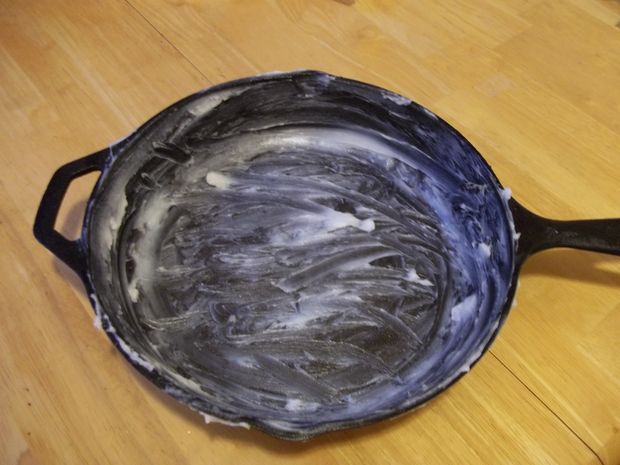
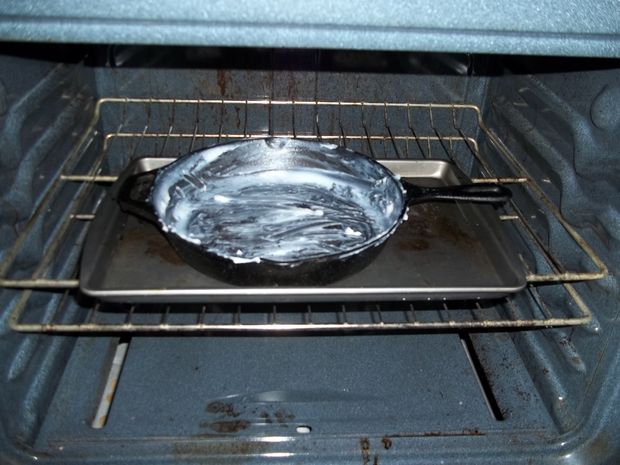
Get a nice thick and even coating of your fat of choice all over your pan. Since my pan only had damage on the inside, I didn't coat the bottom of my pan, but if it's necessary for your job, do one surface (inner/ outer) at a time. Pay attention to the smoking point of lard or the shortening you're using! Lard can stomach from 370�F to 400�F, while many vegetable based shortenings will only tolerate a lower range, say 350�F to 370�F. Use a higher smoking point fat if you can.
Step 5: Bake
Pre-heat your oven until about 275�F, and place your pan in. Use a baking sheet to catch any drippings- you may find that flipping your pan upside down and putting the cast iron directly on your oven rack (dripping pan underneath) will work better, depending on the extent of lard-ification you sent your pan through. After letting your pan warm up for 10-15 minutes or so, crank up the heat up to near the smoking point of your fat. This gradual heating allows for the iron to slowly expand, preventing any cracks or fractures. Let your pan bake at full temperature for 45 minutes, and let cool.
Step 6: Repeat?
Depending on the appearance of your pan after this baking cycle, you may want to repeat the scrubbing process once again. Repeat the greasing and baking as needed. Ideally you'd repeat the re-seasoning step at least 4 times to let the seasoning take hold, but if you're feeling good about its appearance, it should be ready to go after one cycle. If food proceeds to stick to the bottom during use, you'll definitely know that the seasoning layer did not properly form and you'll have to repeat this process.
Restoring cast iron is a pain, but maintaining it is quite simple- remember to scrape any food debris away, dry, and coat with a layer of fat while still warm. Stay away from detergents, metal scrubbers, long soaks, and dishwashers and you'll have a great, heavy duty pan for all of your frying needs. Have fun!
