DIY Project: Pallet Wood Floor
One consequence of working in shipping and receiving for a number of years was the shock I felt upon seeing the number of quality wood pallets that were simply destroyed after their initial use. I always imagined that there would be many ways to put that wood to good use. Well, there are. Let's talk about just one.
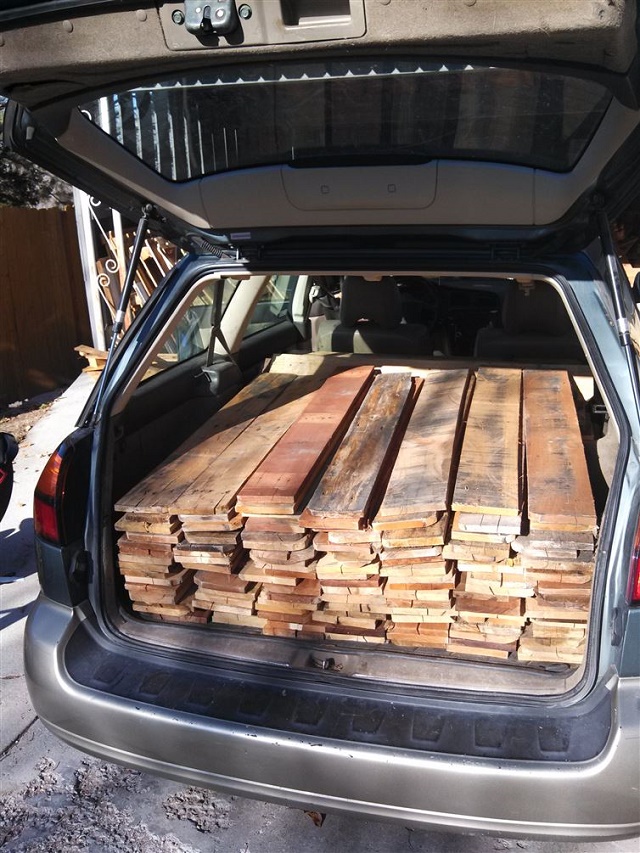
If you have a bunch of wooden pallets and wonder how you can best upcycle the boards, how about laying down a wood floor? It's been done successfully by others, and it can be done successfully by you too.
Many of the boards on a pallet are often not appropriate for a floor�they might be crooked, too busted up, or too rotted out. But there are often great boards among the bad. And pallets are usually just thrown out after they've served their purpose, so this is one great way to give the wood a new life. Just make sure that your floor is prepped. If you don't already have subflooring installed, you may want to learn more about that here. For the purposes of this guide, we'll assume that you already have the pallets, that the subflooring is installed and you're ready to get started.
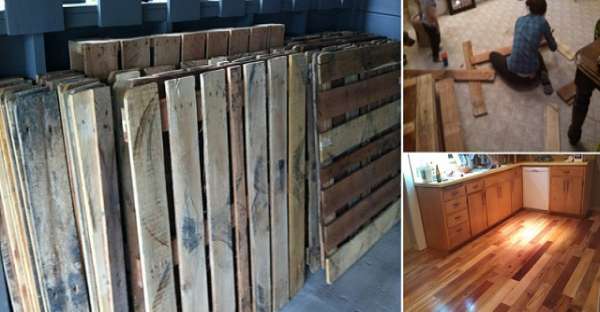
Step 1 � Deconstruct Pallets
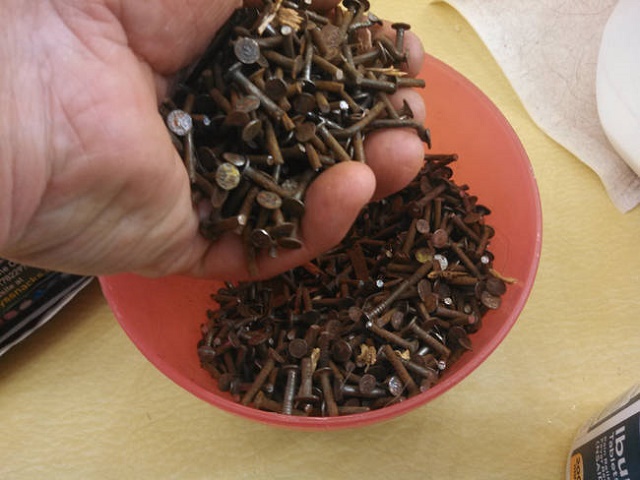
Remove the individual boards from the pallet frame. Depending on what the boards are fastened with, you'll either need to pry the boards off with a claw hammer or pry bar if fastened with nails or staples, or you'll need to use a power drill to unscrew if fastened with screws. Remove all metal, clumps of dirt, and rocks from the boards.
Caution - Always wear eye protection when working on DIY projects.
Upcycle Pallets Into a Wood Floor
Step 2 � Organize Planks by Straightness and Quality and Prep Them
Separate the bad wood out from the good, straight boards. If you want to keep the bad wood, you can use it for firewood, or you can use it for other DIY projects.
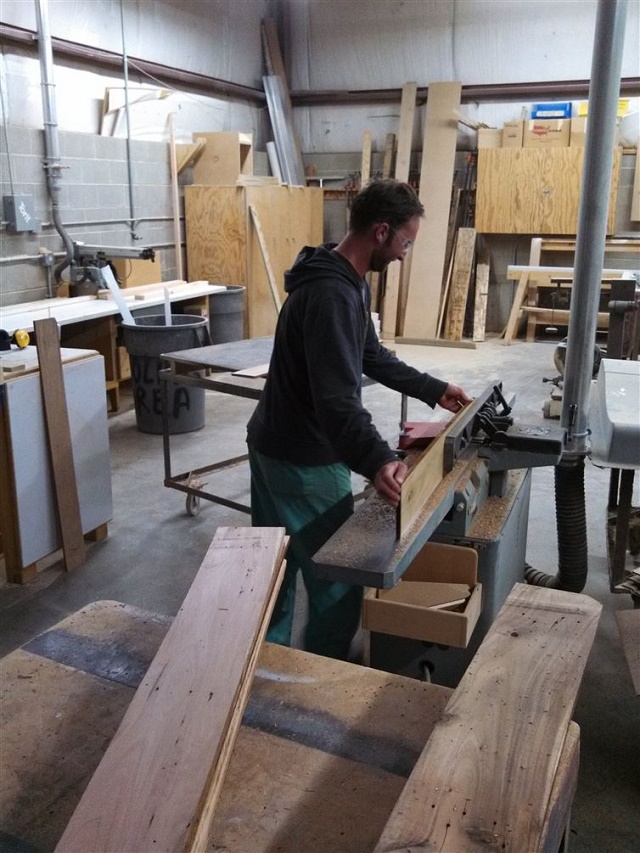
If you have a planer and a jointer, you may want to use them to make all of boards uniform in thickness and squared up. This will help the boards fit together snugly when they are nailed to the floor. If you don't use a planer and jointer, you'll have more gaps when you get to the finishing stage of the project. Some people like that. It's really up to you.
Upcycle Pallets Into a Wood Floor
I recommend cutting about �-inch off each butt end of each board to make them straight and more square.
Step 3 � Map Out Floor Joists
Now find and mark the location of each floor joist. You'll find that most joists are spaced at 12, 16, or 24 inches apart. I recommend using a stud finder. Just turn the stud finder on and pass it over the floor. When the finder indicates a stud, mark the floor at that location. Repeat until you have found every joist in the space you plan to work with.
Step 4 � Install Underlayment Paper
Among other things, flooring underlayment paper can help prevent vapor/moisture damage. Use 15-pound felt paper. Lay the flooring underlayment on the floor along one edge of the room. Staple it down to the subfloor with �-inch staples. Use enough staples to keep the paper flat and in place. Cut it off at the end with your utility knife. When you start your next row, overlap the edge of the first by about 4 inches. Repeat each row, remembering to overlap, until you have covered the entire floor. The number of staples you use is not too important�just use enough to keep the paper firmly in place.
Tip: After the paper's down, you may find it helpful to snap a chalk line to keep your joist locations visible as you work.
Step 5 � Plan the Floor Arrangement
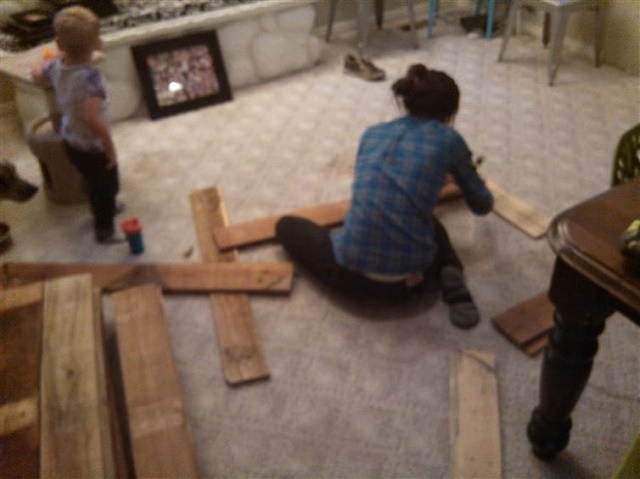
Practice placing the boards in a way that will give you the pattern you're going for. Plan to install the boards at a perpendicular angle to the joists. So, if your joists run north to south, lay the boards east to west.
Lay the boards in a staggered arrangement. This means that each row should start with a board of a different length than the previous row. The butt ends of boards should never line up with an adjacent parallel board's butt end. It might be helpful to just plan to instal the boards at random lengths.
Make sure to arrange the boards in a way that minimizes or eliminates gaps between boards, but please make sure to leave a �-inch gap between boards around the edges of the room and the walls. You can use the �-inch spacers for this purpose.
Step 6 � Install First Board in a Corner
Choose a corner of the room and lay down the first board while making sure to use �-inch spacers between the board edges and the walls. You should put 2 3-inch flooring nails at each end of each board, plus 2 nails at each joist. Do not put the nails closer than 1 inch to the edges, or else you will risk splitting the wood. For best results, predrill each nail hole with a drill bit that is slightly smaller than the flooring nail. After drilling the holes, pound in the nails most of the way.
Step 7 � Finish First Row
Put the boards end to end and install until you come to the end of the first row. Remember to use spacers as you go. Do not use spacers between boards. Only use them between the rows closest to the walls and the walls themselves.
You will likely need to trim the last board in each row to fit. Install each board in the first row until all boards have been installed.
Tip - You can apply a bead of construction adhesive on the back of each board before nailing. This is not required but is optional.
Step 8 � Begin Next Row at a Stagger and Continue Until Last Row
Remember to stagger the first board of the second row. I like to cut the board to about 1/2 the length of the first board in the first row. This sets the stage for a nice staggered look. It doesn't have to be exact, unless you actually want your floor to look like a staggered brick pattern. I personally like the floor to be a bit more natural looking.
Upcycle Pallets Into a Wood Floor
Remember to NOT put spacers between boards. Only use spacers along the edges where the walls and boards meet up.
Continue installing the boards while remembering to stagger each row until you come to the very last row.
Step 9 � Measure and Trim Last Row to Fit
When you come to the final row, you may find that you'll need to trim the boards lengthwise to fit. You can use a circular saw, table saw, or even a hand saw if you prefer. Remember to trim the boards with the �-inch spacers in mind.
Step 10 � Set Nails with Nail Set and Hammer
Next, you need to go over every nail and set it. Simply put the tip of the nail-set tool on one of the flooring nails. I like to start at the corner where I finished my last row. Hit the nail-set with your hammer until you have driven the nail about 1/8-inch below the surface of the board. Follow each row and sink each and every nail in the same way. This is very important as you will not want to have any nails sticking up above the surface of a board.
Finishing Options
Your floor's finish will depend entirely upon you. If you install it in something like a barn or shop, you can leave the boards bare if you would like. You could also just sand them down, or even put 1 coat of polyurethane on the unfinished boards.
You'll likely want to create a more fine finish if the flooring is inside your home. Rent or borrow a drum sander. If you go this route, make sure to follow all operating and safety instructions. Drum sanders are made to remove a large amount of wood in one single pass, so don't let the sander sit over one area for too long or else you will find that too much wood has been removed. Make sure that you understand how to operate the drum sander before you begin.
After the sanding is finished and the floor is at the desired level of smoothness, vacuum all of the dust away. Apply a floor sealer, if desired.
Upcycle Pallets Into a Wood Floor
Now that your floor is prepped, apply a minimum of 3 coats of a high-quality wood floor finish.